A thing I used to do was install new vim plugins.
I was an intern at Yelp who was mostly coding in TextMate through college. TextMate wasn’t going to fly at Yelp because most development happened over ssh. My Real Hacker coworkers mostly used vim and emacs. I wanted to grow up to be a Real Hacker, and so, during work hours, I forced myself to use vim.
At first I slowed down. A lot. But a week into it, I was just as fast as I had been with TextMate, and by the end of the internship, I was much faster.
In 2011, one did not simply “use vim.” vim needed customization. You could optimize all kinds of things! How integrated the programming language was with the editor. How to browse the directory tree. Even how to move the cursor. While it was annoying to need to add plugins to build a good experience, it also meant I was learning each piece at a time, and making a considered decision based on how it would affect my workflow. I was constantly introspecting and “watching myself code.”
My goal as I added plugins to my config was to minimize time and effort between having an intention and fulfilling that intention in code. If I edited a function and wanted to update the corresponding test, I wanted to blink and find my cursor in the right place. If I was deep into a complex problem with ten interrelated files, I wanted to be able to flip between them instantly. (Naturally, I installed too many plugins and had to pare back when things got unwieldy.)
The point of all this isn’t that I eventually reached the perfect state. I didn’t—the point is the process of improvement. My efforts paid off over time, even now in the VSCode era when enough people find vim’s model valuable that its key commands are available in most places that matter.
The outcome you are looking for is productivity
Good engineers care whether they are productive or not. Productivity is hard to measure as an outsider, but as an individual, you know whether you’re doing your best and getting good outcomes.
The metrics you can move when optimizing your coding workflow are roughly:
- How fast you can type
- How fast you can navigate to a specific place so you can type
- Whether you know the right answer to a question without having to ask or look it up
- How fast you can discover the right answer to a question
- How fast you can get confirmation of a hypothesis
- How quickly you enter and how long you stay in flow state
People quibble about how important each one is. Personally, I think raw typing speed is underrated. But when you add large language models using tools in a loop—OK fine, “AI agents”—you introduce a whole new set of metrics you can move:
- How much correct code you can produce by typing and thinking as little as possible
- How much time you spend unwinding garbage code
- How often you are kicked out of the flow state due to waiting for agents
- How often you fail to apply your own skills because you are distracted by agents
Moving these metrics for yourself is, to use a BigCo phrase, extremely leveraged.
It’s roughly as hard as learning vim, but the potential gains are much greater. And the state of the art with language models doesn’t need to advance for this to change the industry forever. It’s not only that you can potentially do your existing work faster; embracing these tools can change the nature of the work you choose to take on.
I want to talk about how you can become faster in practice by using language models.
The rest of this post assumes you are using Claude Code because it’s currently the best monetary value, gets the best results in practice, and is the most extensible, but the framing applies to all coding agents.
How to move the metrics
Practice a lot and build a mental model
A coding agent is not a magic “do what I want” machine. It is a tool with tradeoffs, rough edges, and best practices.
Learn when to cut bait
There are times when agents simply cannot make the leap to find the root cause of an issue or the solution to a problem. The only way to know when this is happening is to experience it and develop a taste for it.
Develop a taste for models
Gemini leaves too many useless comments. o3 is a great problem solver but its context window feels short. Opus isn’t that much better than Sonnet as a coding agent. These are beliefs I’ve developed after switching between models a lot during the day in the Cursor IDE.
I don’t want you to adopt my beliefs. I want you to develop your own beliefs through experimentation. If you only ever code with GPT4.1, you’ll think that LLMs are terrible coders and insufferable communicators.
It’s a rough time to be doing this here in July 2025 because Cursor just nerfed its paid plans and all the first-party coding tools (Codex, Gemini CLI, Claude Code) don’t have feature parity with each other, but do what you can.
Get good at prompting
“Prompting” can sound like a silly skill to work on. But there are specific techniques that I’ve found can greatly improve the output quality in practice. The techniques will probably change over time, and this isn’t a how-to-prompt article, so I won’t get deep into it.
However, I want to give a special mention to one technique: having agents write down plans in Markdown files. Having an agent write down a plan forces the agent to gather enough information to make well-informed decisions, and then gives you an opportunity to review its future actions before they happen, reducing the need for you to step in as it works.
Also, agents are just OK at finding content related to a topic. If you mention a few related files in your prompt, you’re likely to save seconds or minutes of the agent grepping pointlessly. It took me some time to start doing this habitually.
Get the agent to do the right thing more often
Document things and help agents find the docs
Because LLMs are “just” spicy autocomplete, what gets into the context window is important.
Suppose you hire an intern and ask them to write an API endpoint. If there are a dozen gotchas with this and you don’t warn them, the intern is going to hit at least four. On the other hand, if you give them a document about best practices for writing API endpoints, you’re a little more likely to get a good result.
The same principle applies to agents. If you write the doc, and then mention its existence in all the API endpoint files, then agents will probably go read it and follow best practices. And then you can say “hey agent, reread the best practices doc and audit the new code carefully” to catch problems.
A related strategy is to use #hashtags in your code. If an agent sees “#auth-edge-case” in a comment above a function, it will probably search your codebase for the string “#auth-edge-case” and find the large comment explaining exactly what the auth edge case is. A lot of orgs do this already for humans, and it’s just as effective for LLMs. Probably more effective, since LLMs don’t get bored.
If you adopt good documentation practices, they benefit humans and agents alike!
Garden your prompts
Every tool has a special set of Markdown files that get injected into the LLM’s context window. With Claude Code, this is CLAUDE.md. This file can make or break your productivity. If it contains the right set of relevant information, you have to do so much less prompting in each session to get an agent to do the right thing.
My personal project prompt files usually contain:
- A very brief summary of how the project is structured
- A list of encouraged and forbidden commands (for example, “always use
git --no-pager diff instead of git diff to avoid pagination”)
- Workflow notes such as universal acceptance criteria (tests, typechecking, and lint must pass) and when to commit or push (which may be never)
- Style guide rules that can’t be enforced automatically
Use popular technologies with built-in guardrails
Using bleeding-edge or hipster tech has always been risky. Now it can also prevent agents from being able to code effectively. If something is too new or too unusual to have much written about it around the internet, LLMs are likely to hallucinate. I found this to be true when trying to write a Tauri app, and eventually stopped trying to get my agent to write Tauri code. (At the start of the project, I knew zero Rust and zero Tauri. By the time I dropped the agent, I had learned enough to fly solo. The mediocre agent code got me far enough to start learning organically—I never read a tutorial.)
Get the agent to do the wrong thing less often
Use automated typechecking, linting, and testing
One of the great things about the software engineering industry is that we’re mostly bought into automated checks for fallible human changes. LLMs are either more or less fallible than humans, depending on the task, and so these automated checks remain critical.
I am most productive working with an agent when it can check its own output and notice mistakes based on evidence. If they can typecheck, lint, and unit test changes locally, agents can do more on their own and self-correct.
Write consistent code, or make “the right way” obvious
LLMs, being stochastic parrots, love repeating what they’ve recently heard. If there’s mostly one way to accomplish a common task in your codebase, and all features mostly do it that way, then an LLM will be able to pattern match well. Without consistency, you’re likely to get the LLM adding yet another way to do the same thing.
Those of you working in mature codebases might be giving a heavy sigh right now. One thing I’ve found helpful in these situations is to mark some specific files as “the right way” and then provide a way for agents to discover these files.
When I worked at Asana, there were three different ways a feature could be written: oldest, old, and current. We automatically annotated every single file with which pattern it used. We did this in the service of humans, before the age of LLMs, but I think it would work well for LLMs as well.
Treat bad agent behavior like a developer experience problem
If an agent does something obviously wrong, try to figure out if you can prevent that behavior automatically in the future. You have many tools available to you. You can write a hook to catch it, or write docs that agents are prompted in CLAUDE.md to read, or add a lint rule, or an automated test. If you’re lacking inspiration, you can ask the agent itself. Its idea might be bad, or it might not.
Sometimes the answer is to just get better at prompting, or to recognize that a class of problems is a bad fit for coding with agents.
Claude Code has a feature called Hooks which lets you run scripts when things happen. One way we use this at Descript is to force agents to call pnpm instead of npm. pnpm is popular, but npm will always be the 500lb gorilla of the JavaScript packaging world, and it doesn’t bother me that LLMs can’t help but try to use it. Human engineers make the same mistake sometimes, but I can’t add automated hooks into their brains like I can do with Claude!
Keep momentum
If you need to talk to your agent a lot to accomplish simple tasks, you’re probably not moving faster. When agents can test changes and iterate, they can work autonomously. As long as agents are behaving well, autonomy is a very good thing!
Here’s an example. Suppose you have a language model that is able to fix basic test failures. You, a human being, put up a PR that fails a test after a five-minute CI run. You click into the log for the failure and scroll down until you see failure traceback. You paste it into your agent and say “fix this.” It fixes a bug in your code to get the test to pass, but five minutes later, the next CI run fails because the fixed code reveals another issue. You repeat the process, clicking into the logs, pasting the message, having the agent fix the bug, committing and pushing. You check on the build and see that it passed. Congratulations, you used AI to solve a problem! It only took you fifteen minutes of lost focus.
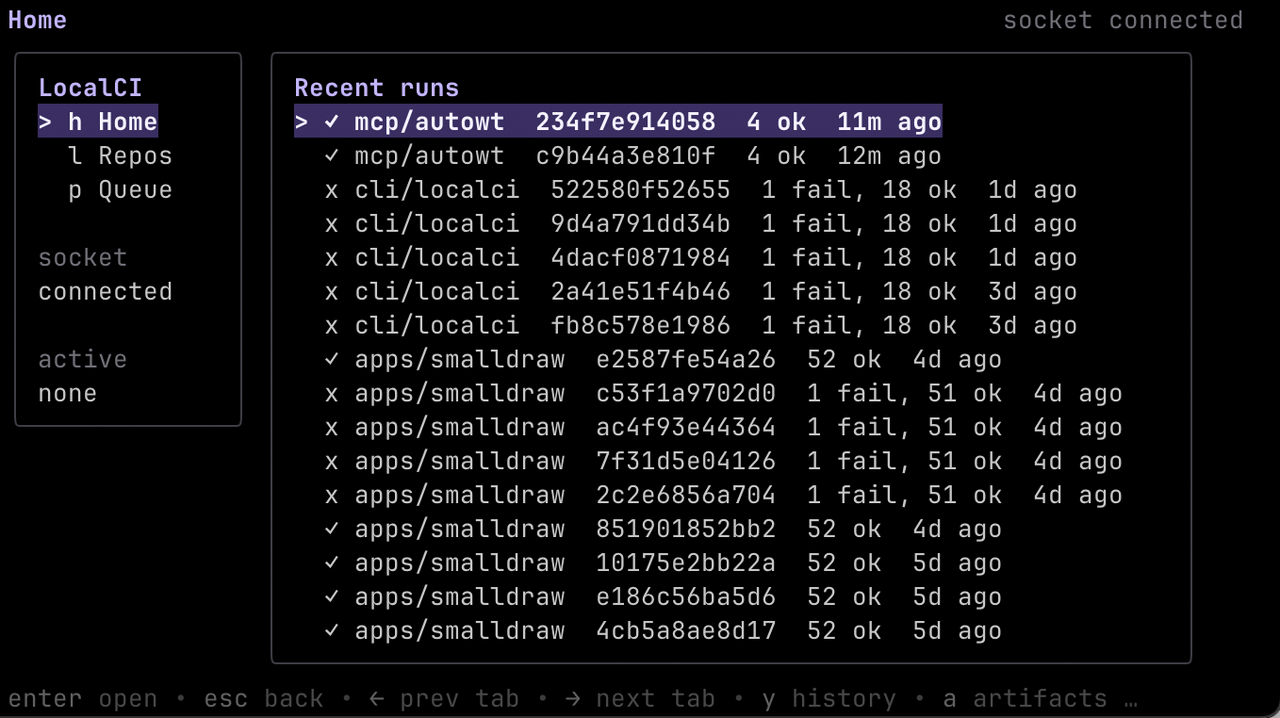
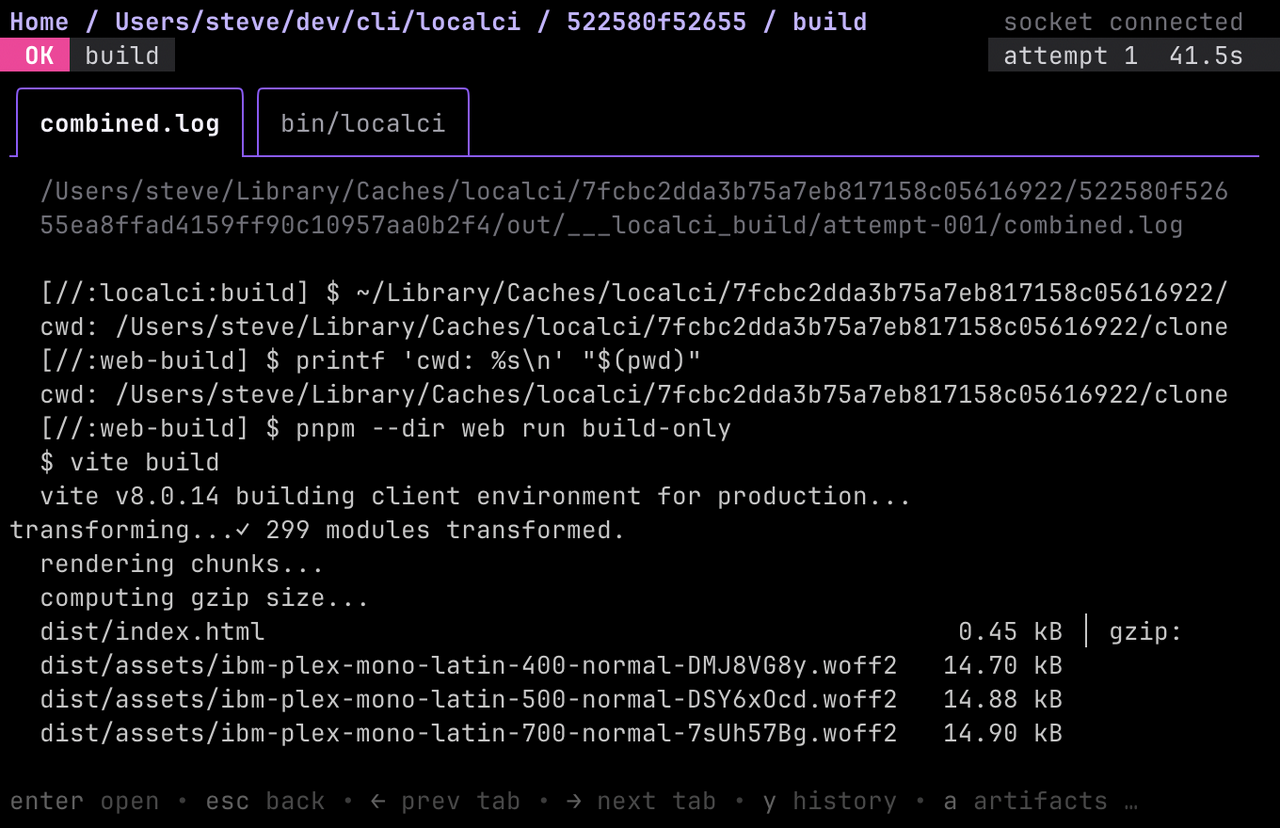
Now instead of manually pasting the CI output to your agent, suppose that you asked Claude Code to run cimonitor watch after every push and fix problems that have obvious solutions. So when the first run fails, the agent noticed the error, pushed the first fix, noticed the second error, and pushed the second fix. You fired it off one time and started working on something else. With enough tools to observe the outcome and the ability to run those tools, you fired it off once and went to work on something else. You still had to check on it at the end, but you had two fewer interruptions.
A good general rule is, any time you copy and paste to or from an agent, find a way to automate it, probably using a command line tool or MCP server. Investigate log forwarding or use persistproc to make sure your agents can read your logs.
Multitask
Let’s continue with the example above. Now you’ve got Claude Code waiting on a CI job for your branch, so you’re free to do whatever. But your git clone is tied up with this CI thing! What do you do?
Developers are used to working out of “their clone” of a git repo. Dev tooling in organizations is mostly set up based on this assumption. In a world of agent-assisted coding, I don’t think this is reasonable anymore because agents encourage you to multitask.
I believe this is one of the frontiers of tooling as far as developer productivity goes. Engineers who embrace coding with agents will have multiple worktrees or containers or cloud VMs at the same time, dedicated to different ongoing coding tasks. During the workday I’ve started using a small script that wraps git worktrees and it’s been going well, but I suspect more will happen in this space, especially open source tools.
Prompt boldly, commit conservatively
One way in which I differ from a lot of AI hypefolk is that I don’t let agents commit my changes. I manage the staging area using Tower and make sure I understand every change that goes into a commit.
This workflow allows me to ask an agent to do something really ambitious, and just back out of the whole thing if it goes badly. It’s one area where my “classical engineering productivity” skill of being good at Git has served me well in the coding-with-agents era.
This is how I operate at work. But at home, on side projects, I do let Claude commit on my behalf because the stakes are lower and the problems are simpler.
It is worth finding out whether it works for you
This might sound like a lot of work. Maybe you’re skeptical that this can ever work. Maybe this isn’t why you got into coding and agent-assisted coding seems like a black hole for joy. Maybe you don’t like the vibes you get from AI companies. Or maybe your coworkers are submitting low-quality AI-generated pull requests without checking the results and you don’t want to be like that.
I’ve heard all of these things from friends, coworkers, and social media posts. I agree with at least one.
But despite all that, I find myself seeing a step change in my output without a drop in quality. It energizes me because I love building, and it scares me because I believe the bar will raise for engineering productivity across the industry and I need to stay employed.
So, seeing an opportunity to become more productive without spending more time, I take it. It seems like the rational thing to do. This entire article is a distillation of what I’ve learned just by practicing and experimenting. I still think I’m half as productive as I could be with the right tooling, and there are so many new plugins to install.
No part of this post was generated by an LLM.